HOW TO BUILD YOUR POKIDOTS DIY KEEPSAKE
Thank you for choosing Pokidots to preserve your most precious memories in this wonderful artistic way. I am glad you have chosen the DIY option, as I get to be your art teacher for a day.
Ready?
Here’s what you will find in your package:
The style of keepsake art you’ve chosen – the illustration is hand-drawn and printed on fine art paper, using high-quality inks. The illustrated paper will be used as a stencil. It is quite fragile, so please handle it with care.
An acid-free mat pre-glued to the illustrated stencil. The mat is 11 x 14 inches.
An 11 x 14 inch back board with a traced guideline to where your precious fabric will go.
A rectangular guide card to help you cut your precious item.
4 acrylic, adhesive dots to elevate the artwork and give it depth and dimension.
An adhesive memory note to fill out and stick to the back of the frame.
A Pokidots photo card to use when you take a pic of your finished keepsake!
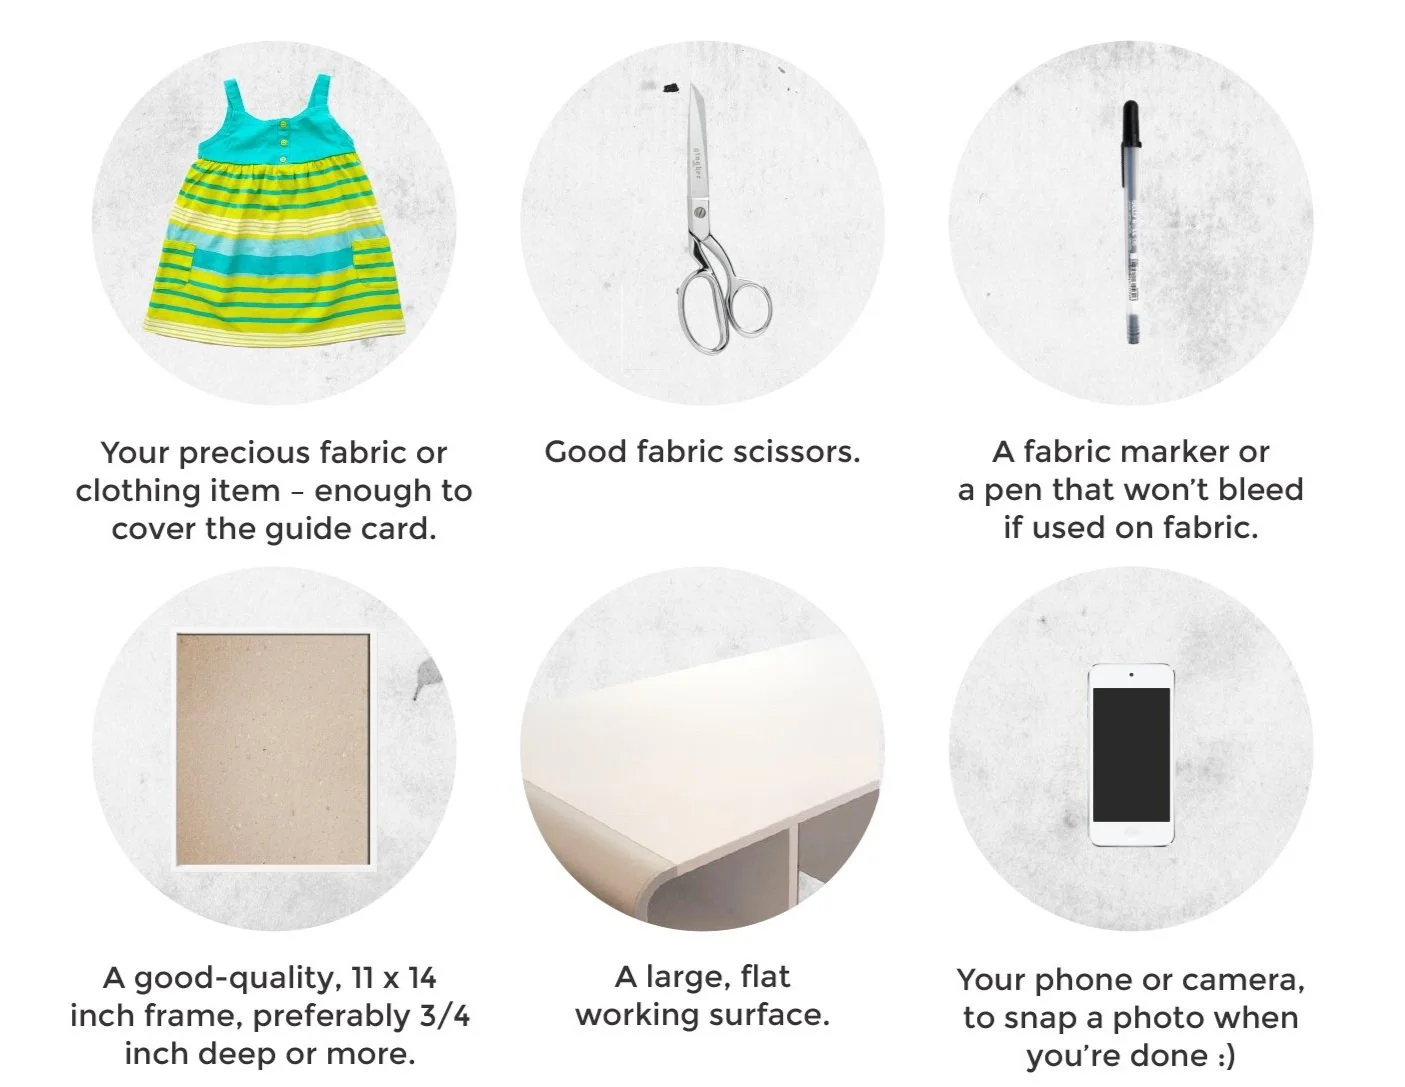
Here is what you will need:
Let’s get started!
Prepare your working surface:
wipe it out and make sure it’s
completely clean and dry.
❤
1.
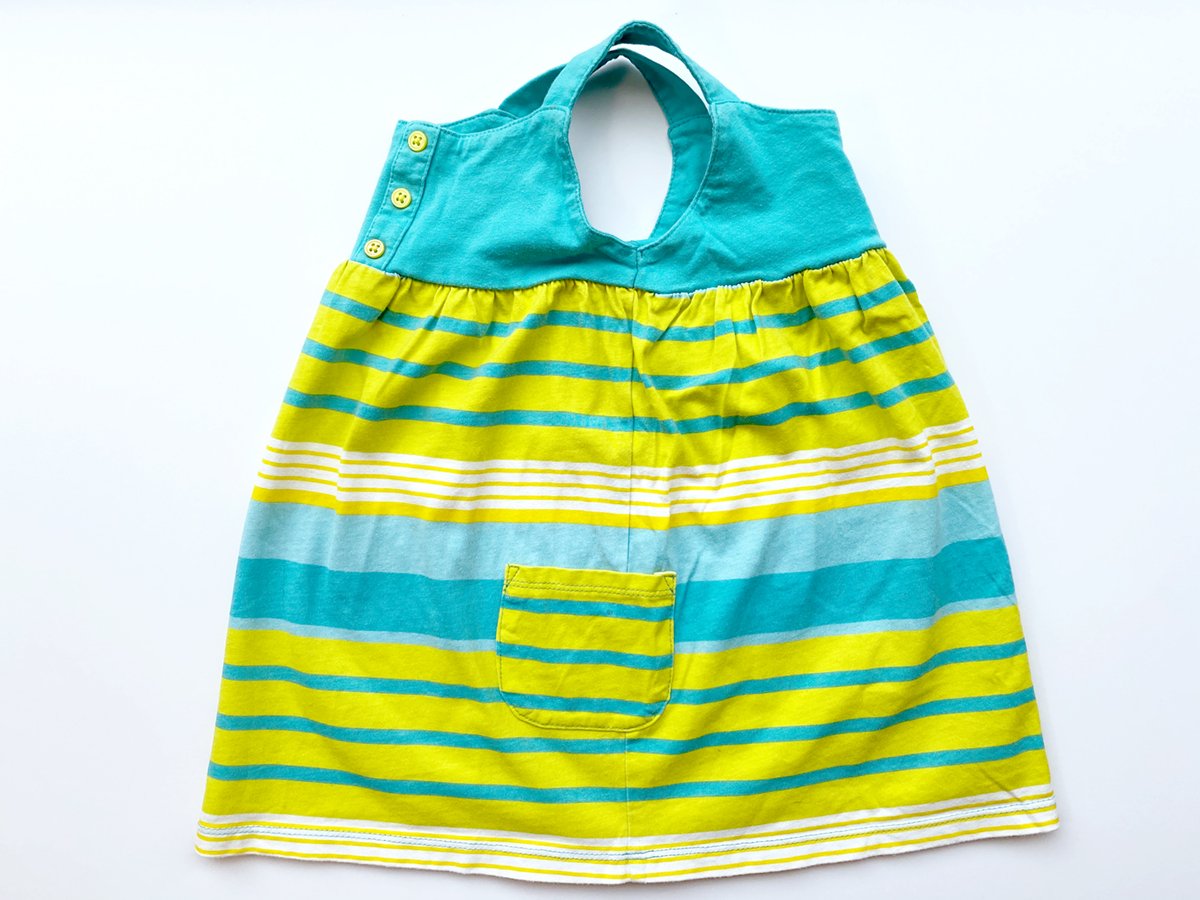
Lay your item flat on your surface. If it’s a clothing item, cut it at all the side seams to separate the front from the back and get two flat pieces of fabric, unwrinkled.
If the part of the fabric you would like in your keepsake is at the side seam, don’t cut it at the side seam. Instead, just flatten the part you want to use as much as possible.
2.
Take the guide card (4) and lay it flat on the item, over the part that you want to capture in your keepsake. Please read below for tips on how to place your guide card.
Tip: Right side up
If there is a “right side up” for the fabric, like a pattern or graphics, make sure you follow the “UP” and “DOWN” guidelines of the card.
Tip: Arranging fabrics
If you want to capture two different parts of the fabric – or two different items – in the same keepsake, you can do that by cutting and arranging them together in a way that looks nice to you, and using the guide card on both! Make sure the piece is larger than the guide card.
Tip: Fabric thickness
The DIY Pokidots! keepsake allows for a fabric thickness of about ¼ inch. You can include closures like snaps and flat buttons, but hardware like standard YKK zipper pulls will not fit after the artwork is framed, unless you use a shadow frame.
3.
When you’ve decided which part of your fabric you would like to capture, lay the illustrated stencil and mat (1, 2) over it to make sure it looks good as is. Shift and modify your arrangement as needed, then set the illustrated stencil aside.
4.
Once you’ve settled on the part of the fabric to feature in your keepsake, press down the guide card over it and carefully and lightly trace the card shape on the fabric with your fabric marker.
Tip: Affixing fabrics
If you are using two parts of the outfit, glue them or stitch them together first, the way you’ve arranged them, to prevent them from shifting.
5.
Cut the fabric at the line you traced.
Part one, done.
Easy peasy!
Time to stick your fabric to the backing of the frame.
6.
Place the back board (3) on your flat surface, right side up, and make sure it’s clear of dust, fabric fibers or thread. Peel the paper off the double tape squares that are already stuck on the back board and then stick the fabric piece you just cut in step 5. Each of the four corners of the piece of fabric will stick to a double tape square. Make sure the fabric is laying naturally without being stretched out or bunched in.
7.
Once the fabric is stuck on the back board, peel off the adhesive acrylic dots (5) from their backing, one by one, and stick them on the back side of the stencil illustration, right on the pink “X” marks.
Creative trick
Because your fabric is adding a thickness that may be uneven, the four acrylic dots will help even out the mat and give your final keepsake a beautiful depth.
Now you’re ready to frame your keepsake. Yay!
8.
Open up your frame and get it ready.
9.
Place the layers in the following order:
A- Your frame’s glazing,
B- Pokidots illustrated stencil and mat (1, 2),
C- Back board (3) with your fabric glued on it,
D- Your frame’s backing.
10.
Close the frame, and, if you want to, tape around the back closure with adhesive Kraft tape to seal it.
11.
Fill out the adhesive memory note (6) with your precious memories of that keepsake and stick it to the back of your closed frame. Add a photo that shows how the item has been used (for example, a photo of your loved one wearing the clothes you used).
You did it!
You are now the proud owner
of a Pokidots keepsake :)
❤
Scroll down for the very last step!
Last step:
Please take a photo of your finished keepsake with the Pokidots! card (7) and post it on Instagram to get 10% off on your next purchase! Tag @pokidots and use #pokidotsdiy so I could see it and share it. (PS: I can only see it if your account is public.)
HOW WAS YOUR EXPERIENCE?
I would love to know how your keepsake assembling experience was, so I could improve the product/instructions where needed!


